
In Part 2 of this series we got our own OpenShift Cluster running on our vSphere platform. If you followed so far you should have a running cluster with the antrea as a CNI. Now we can integrate that cluster into NSX, so that we can set antrea network policies directly through the NSX UI.
Preparation
You could use the documentation from Broadcom as outlined here: https://techdocs.broadcom.com/us/en/vmware-cis/nsx/container-networking/1-x/vmware-container-networking-with-antrea-installation-guide-1-x/nsx-interworking-with-antrea-operator/install-antrea-nsx-interworking.html
However I prefer to create the user and certs in NSX with antreansxctl automatically.
Therefore you must download the file antrea-interworking-1.1.0.zip from the antrea download page on the Broadcom download portal.
Unpack this file and copy the antreansxctl.tar.gz to the desired location and unpack it.
You also need to be logged in to the Broadcom support portal to download those files and have an entitlement for Antrea.
Creating the Certs and Users
Run the antreansxctl with the following parameters:
./antreansxctl bootstrap --cluster-name <ocp-cluster-name> --nsx-managers <nsx-manager-vip> --user admin --password <nsx-password>
This will create the user in NSX and also the required certs.
Install Interworking
Go back to the backuped manifests from antrea you created in Part 1 of the cluster install as we need those again.
Edit the following in the file ./deploy/openshift/operator.antrea.vmware.com_v1_antreainstall_cr.yaml to fit your config:
In bootstrapConfig you need to fill in the clusterName, the NSXManagers and change the enableInterworking from false to true as outlined in the section below:
...
...
  bootstrapConfig: |

    clusterName: ocp1 # set your cluster name
    # NSXManagers is a string slice that contains the IP address or domain name of the NSX Managers.
    # Fill in the NSX manager IPs. If there is only one IP, the value should be like [dummyNSXIP1]
    NSXManagers: [10.10.0.50] # set NSX Manager VIP in [] brackets
    proxyEndpoints:
      # rest-api is a string slice that contains the IP address or domain name of the REST API endpoint.
      rest-api: []
      # nsx-rpc-fwd-proxy is a string slice that contains the IP address or domain name of the NSX RPC forward proxy.
      nsx-rpc-fwd-proxy: []
  antreaAgentImage: projects.packages.broadcom.com/antreainterworking/antrea-agent-ubi:v2.1.0_vmware.3
  antreaControllerImage: projects.packages.broadcom.com/antreainterworking/antrea-controller-ubi:v2.1.0_vmware.3
  interworkingImage: projects.packages.broadcom.com/antreainterworking/interworking-ubi:1.1.0_vmware.1
  antreaPlatform: openshift
  enableInterworking: true # change from false to true
  trafficEncryptionMode: none
  psk: changeme
Then edit the file ./deploy/openshift/nsx-cert.yaml and input the values from the files that you created before with the antreansxctl tool, namely you need to do the following:
apiVersion: v1
kind: Secret
metadata:
  name: nsx-cert
  namespace: vmware-system-antrea
type: kubernetes.io/tls
data:
  # One line base64 encoded data. Can be generated by command: cat tls.crt | base64 -w 0
  tls.crt:
   input from tls.crt
  # One line base64 encoded data. Can be generated by command: cat tls.key | base64 -w 0
  tls.key:
    # input from tls.key
Then apply those files to the cluster by running:
oc apply -f operator.antrea.vmware.com_v1_antreainstall_cr.yaml
You need to be logged in to the cluster. How to do that is described at the end of Part 2.
Wait a bit so the cluster has time to create the namespace and the config and then run the following command aswell:
oc apply -f nsx-cert.yaml
Verify the status of the installation:
oc get pods -n vmware-system-antrea
If all is well you should see this:
oc get pods -n vmware-system-antrea
NAME                           READY   STATUS    RESTARTS   AGE
interworking-b4c84f7c7-tzp92   4/4     Running   0          146m
register-5db95b45d6-zq2g7      1/1     Running   0          146m
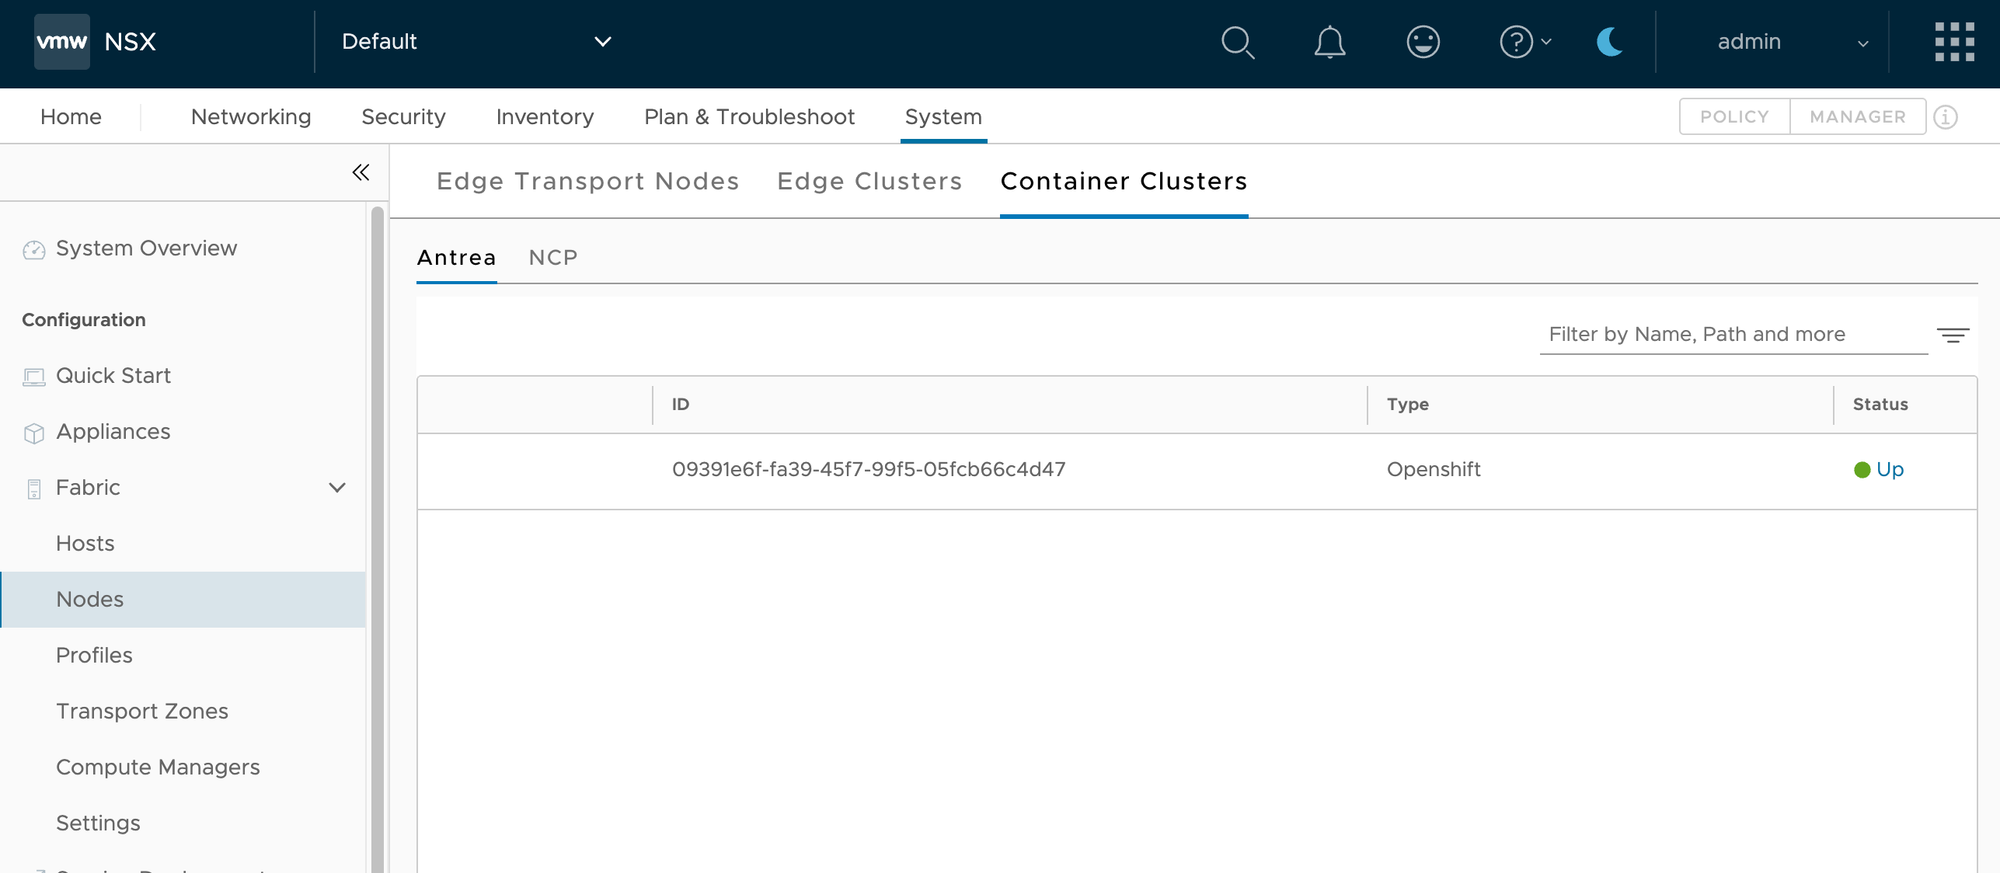
After a few seconds, the Antrea cluster should be registered with NSX. In the NSX Manager UI, under System->Fabric->Nodes->Container->Clusters->Antrea, you should see the cluster and the status should be green.
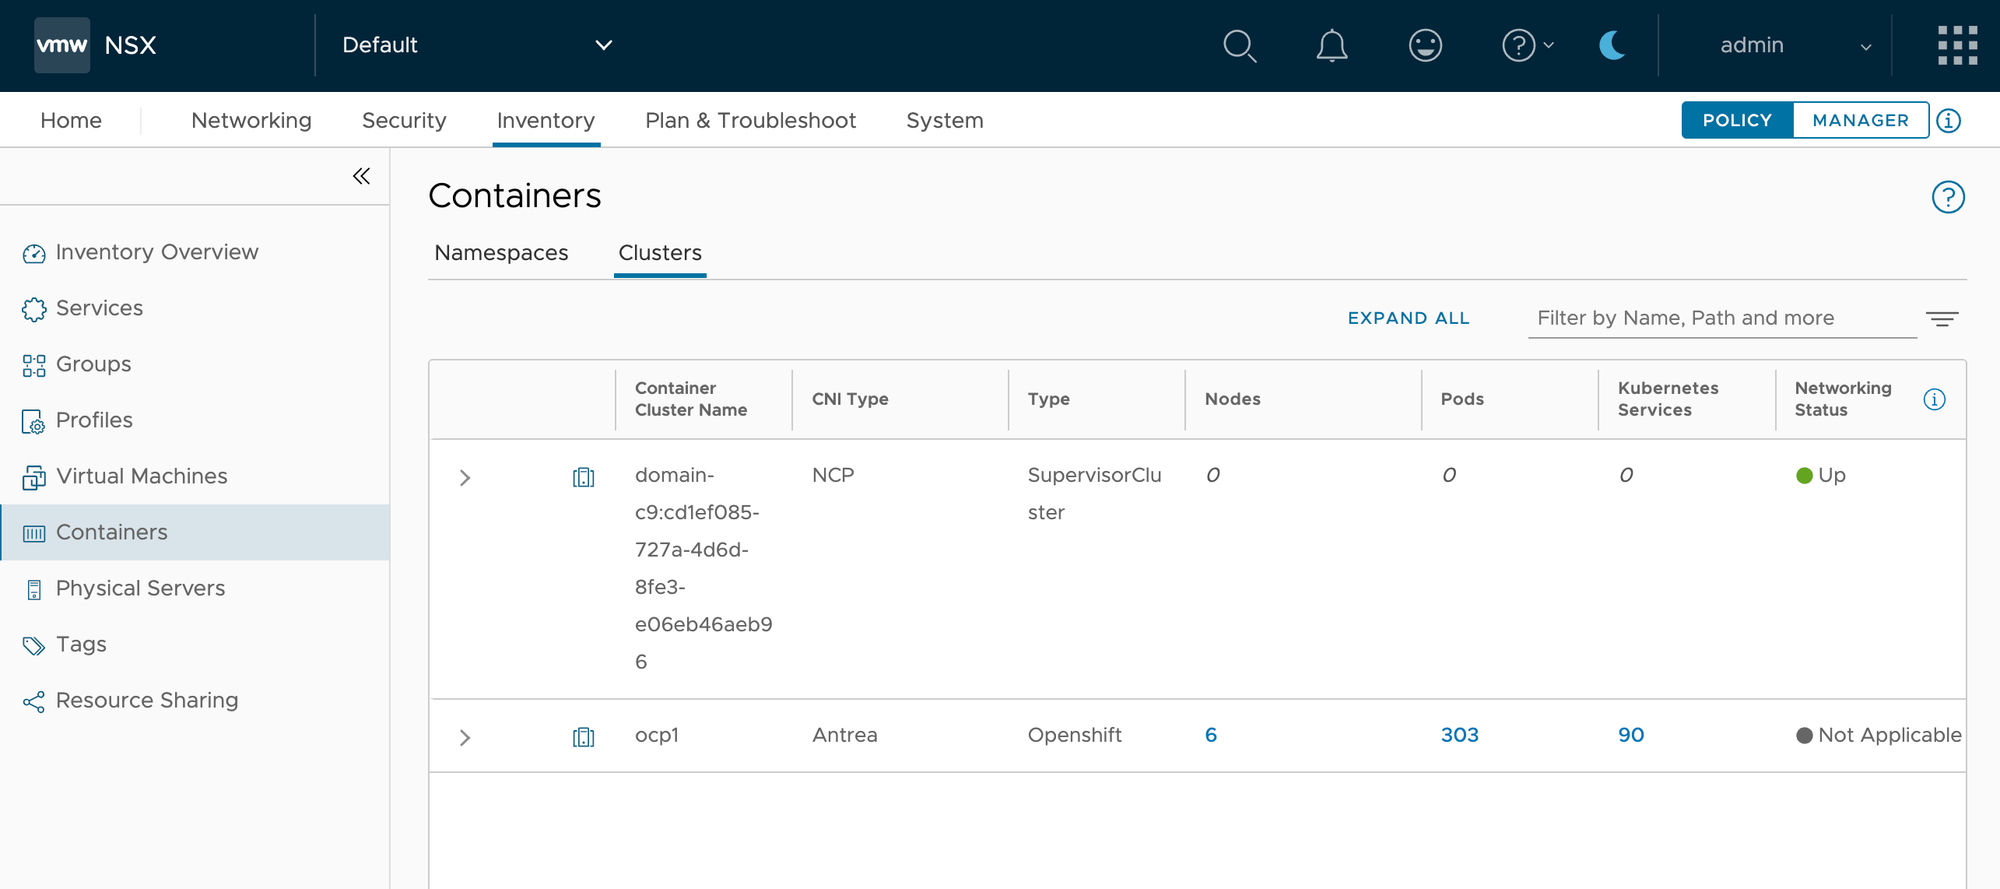
Under Inventory->Containers->Clusters, you can see information about the cluster.
Now we can create antrea network policies in the Security tab. The handling of those is exactly the same as it was when I did the same thing with Rancher, so I wont go into details there. To see the specifics you can read up on that in this blog post I posted here.
Conclusion
As you can see now, antrea integrates nicely not only with VMwares own VKS platform but can also be used on other Kubernetes distributions, such as Rancher or OpenShift. With the Antrea NSX Interworking we can create network policies directly in NSX to be applied to namespaces or specific pods. This offers you great security flexibility if you already use NSX in your environment.
In the next part I will go over LDAP and OIDC integration in OpenShift. This is not directly related to specific OpenShift on vSphere deployments as it can be used with any OpenShift install but will be still part of that ongoing series.