
In the past I have always used templates for my frequently used VMs. This included for example Debian, Ubuntu or CentOS servers. This allowed me to quickly set up a VM without going through the whole setup process of the OS, all the tools and settings each and every time. With the use of VM Customization Specifications I could set up some values like network settings and hostnames while deploying the VM.
While this is very useful and safes a lot of time, the customization needs to be setup on each vCenter that you want to deploy the template. What now, if you have a VM which you want to setup on any vCenter without creating or importing the Specifications? There is such an options which you probably even used in the past. When importing an OVA often you are able to set values such as hostnames, IP addresses and even usernames and passwords in the OVA import wizard. In this post I will try and make my own appliance to have my own "go everywhere" Debian appliance I can install anywhere.
Preparation
First I need a template for the OVA. Therefore I setup a Debian VM and install it as I usually would and install all the tools I would want, such as VM guest tools, SSH server, sudo etc. If everything is done to your liking, you installed all the updates and made sure that VMware tools are working then shutdown the VM.
Enabling vApp
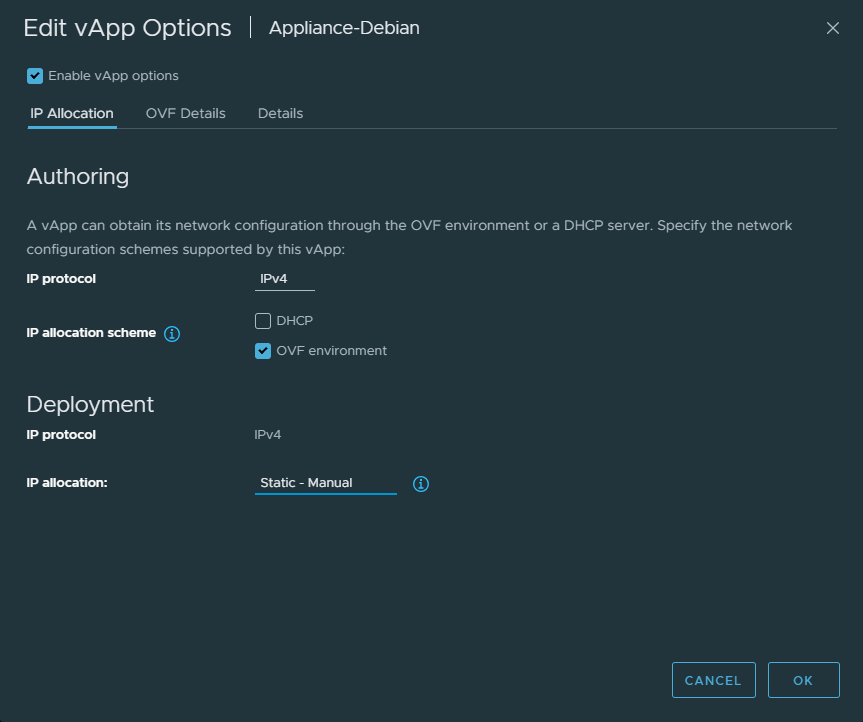
In your vCenter, select the VM and go to Configure -> vApp Options. Enable the vApp options and select the desired values. Here you probably want the OVF environment as IP allocation.
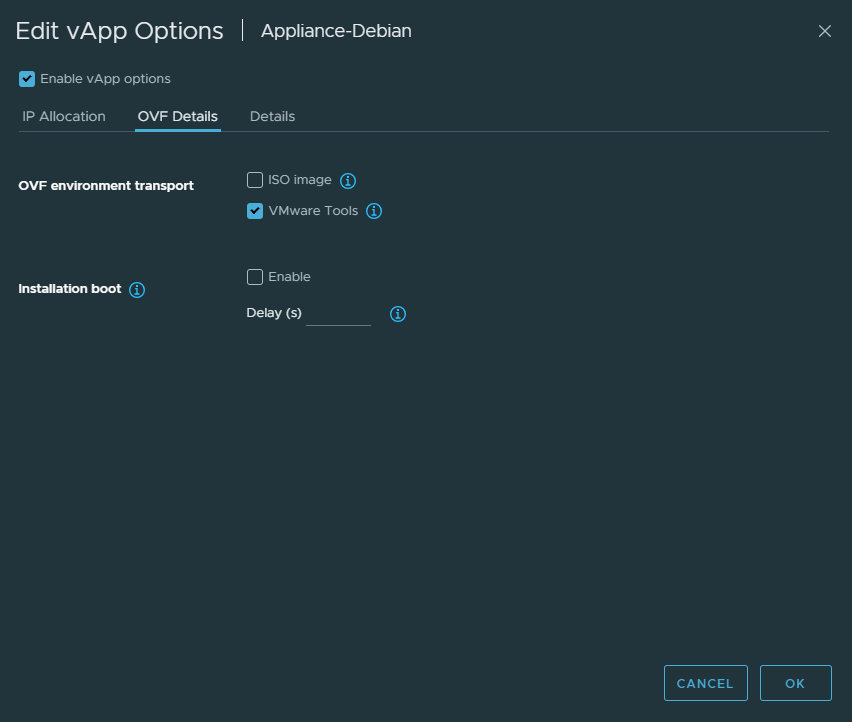
Under the OVF Details select VMware Tools as the environment transport. This means, that all the settings in the VM like IP, Hostname etc. are pushed into the VM via VMware Tools. The ISO image option would mean, that an Image is attached to the VM during deployment which holds all the scripts to run during deployment.
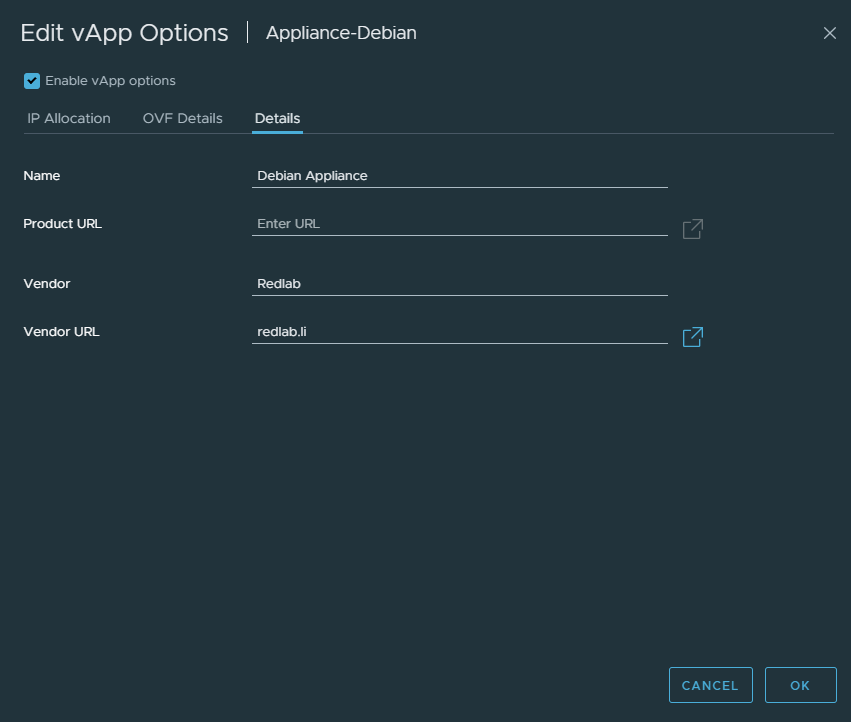
On the Details you can add some information for people who deploy the OVA. This is optional of course.
Setting up the values
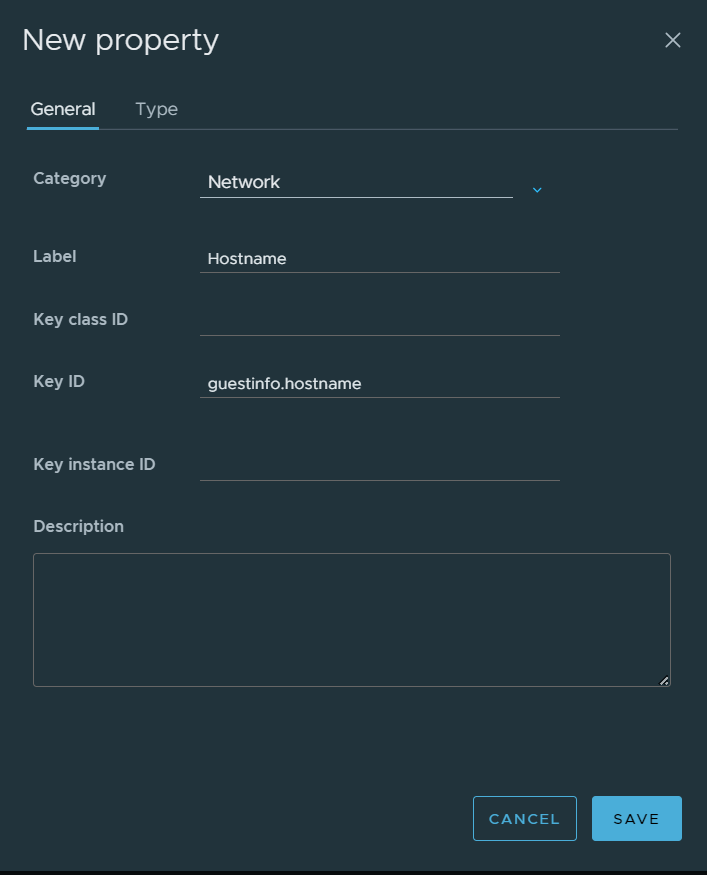
In the window you can now add properties for your VM. Add a new one, for example for the hostname. The fields you can fill out are Category, which is optional but helps you organize the properties, Label which is the name of the property, Key ID which is the key that in the end needs to be accesses by the VM and an optional description.
For testing purposes I added a value to the property so we can see, if the VM can detect the value.
Start the VM again and run the following command:
vmtoolsd --cmd "info-get guestinfo.ovfEnv"You should get an output similar to this:
<?xml version="1.0" encoding="UTF-8"?>
<Environment
     xmlns="http://schemas.dmtf.org/ovf/environment/1"
     xmlns:xsi="http://www.w3.org/2001/XMLSchema-instance"
     xmlns:oe="http://schemas.dmtf.org/ovf/environment/1"
     xmlns:ve="http://www.vmware.com/schema/ovfenv"
     oe:id=""
     ve:vCenterId="vm-28182">
   <PlatformSection>
      <Kind>VMware ESXi</Kind>
      <Version>8.0.3</Version>
      <Vendor>VMware, Inc.</Vendor>
      <Locale>en_US</Locale>
   </PlatformSection>
   <PropertySection>
         <Property oe:key="guestinfo.hostname" oe:value="template"/>
   </PropertySection>
   <ve:EthernetAdapterSection>
      <ve:Adapter ve:mac="00:50:56:b3:2a:bf" ve:network="lab-infra-network" ve:unitNumber="7"/>
   </ve:EthernetAdapterSection>
</Environment>
Take note of the PropertySection where you can see the key guestinfo.hostname with the value specified in the customization. If you put something else there or leave it blank to be filled out in the OVA import wizard that value will be populated differently.
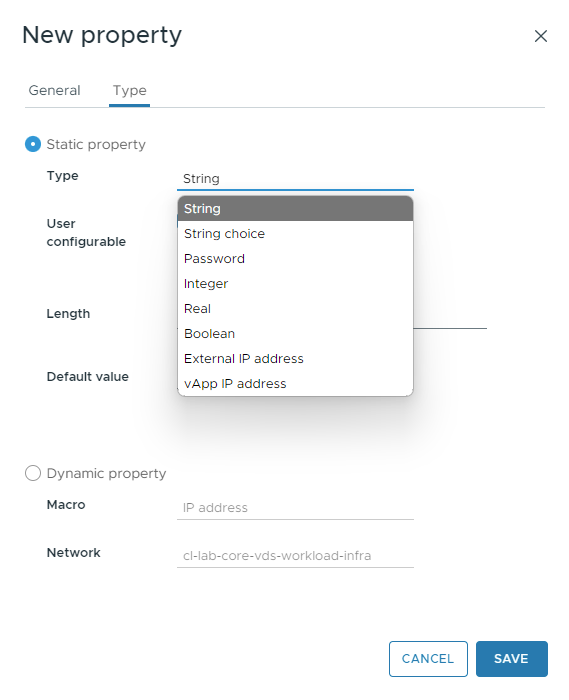
Now shut down the VM again and we set the other values. In the type setting you notice there are different options which can be set, like String, choice, Password and more. In theory everything could be set via a string which then is parsed in the script in OS (which we will set in the second step). However, it can make sense to set other types like External IP address for the IP. Password also makes sense to use if you want to set your root password via vApp options as otherwise it is passed in plaintext.
Try out all the different options and set a value to each for test purposes. Then start the VM again and run vmtoolsd --cmd "info-get guestinfo.ovfEnv" again to see how they are reported to the OS. If you are happy with all the settings we will then figure out how to actually set these values in the next part of this series.